If you recently purchased or built a new PC, or upgraded an older PC, the most important thing to do aside from stress testing is to benchmark. Whereas stress testing helps ensure the PC is completely stable not only during idle but also during heavy load, benchmarking will help ensure that the PC is operating at the appropriate level of performance for the components installed. As simple issues such as an outdated driver or an improperly configured component may significantly degrade performance, benchmark testing will allow you to quickly catch any issues and to fix them immediately so you can take full advantage of the new hardware that you’ve spent your hard earned money on.
Benchmarking Best Practices
Before benchmarking your PC, it’s important to prepare your PC for benchmarking as many factors such as applications running in the background for example could easily throw off results. As such, here are some best practices for before you begin benchmarking.
1. Update Drivers
The most important thing to do before benchmarking is to ensure that your drivers are not only installed, but are up to date. While newer operating systems such as Windows 10 has gotten better at automatically updating drivers right from Windows Update, many of these drivers are still outdated which in many cases will provide lower than expected performance.
The easiest way to update drivers is to obtain a list of the hardware in your PC and update all the drivers directly from the manufacturer’s website. For example, those who own Nvidia graphics cards can update drivers through Nvidia’s website while those who own AMD graphics cards can obtain the latest drivers through the AMD website. Those who own pre-built systems such as Dell, HP, Lenovo, etc. can also download drivers from the system’s website.
2. Close Background Applications
Background applications such as those run automatically in the system tray or applications that have been launched but are minimized will require system resources which will in turn lower benchmark numbers. As a result, it’s important to ensure that all non-essential applications are closed before running benchmark applications.
3. Select the Proper Power Plan
Windows allows changing pre-defined power plans in the Power Options in the Windows Control Panel. This allows Windows to increase or decrease maximum CPU frequencies, power down drives, and more. Especially for those on laptops, setting power plans such as Power Saver or other power efficient plans created by a system manufacturer may significantly reduce performance in favor of power efficiency. Before benchmarking, ensure that your system is in the High Performance power plan to ensure best performance.
System Benchmarks
PC Mark 10 (Paid)

Among PC benchmarking utilities, PC Mark is by far one of the most popular complete system benchmarking tools on the market. Running PC Mark 10 is simple as well in that it offers either a simple express test or more extended tests that can target a specific workload such as everyday workloads, productivity, content creation or gaming. After the benchmark run is complete, PC Mark 10 will provide a score which can be used to compare the system to other systems.
CPU/Compute Benchmarks
SuperPi (Free)
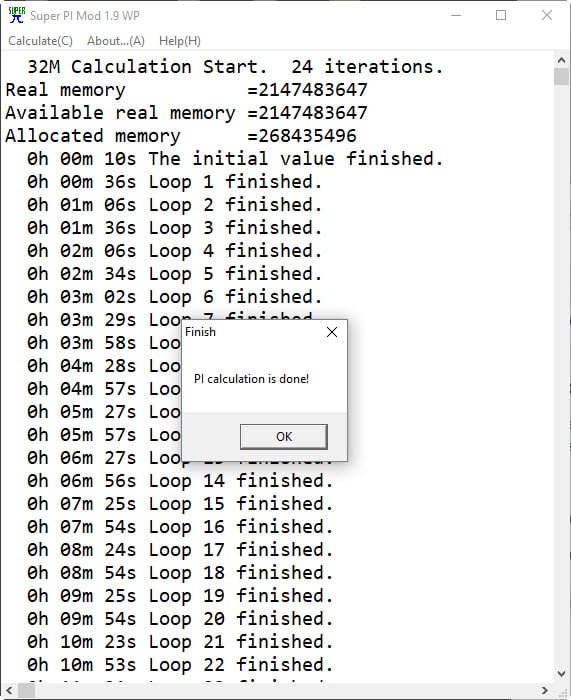
SuperPi is a lightweight CPU benchmark utility that calculates Pi to a specified number of digits after the decimal place. SuperPi is a single threaded application, so it’s an excellent test of how fast a single thread can be executed.
wPrime (Free)
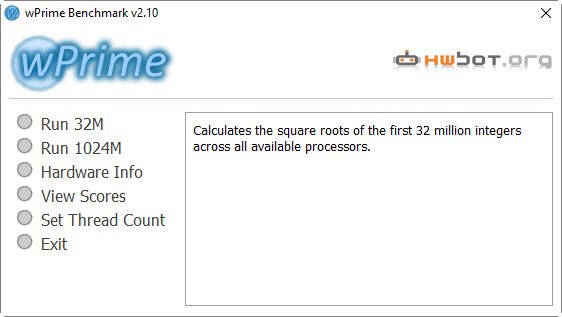
wPrime is similar to SuperPi in that it calculates Pi to a certain number of digits after the decimal point. However, unlike SuperPi, wPrime is a multi-threaded application which can use all the cores and threads available on a CPU in parallel.
Cinebench (Free)
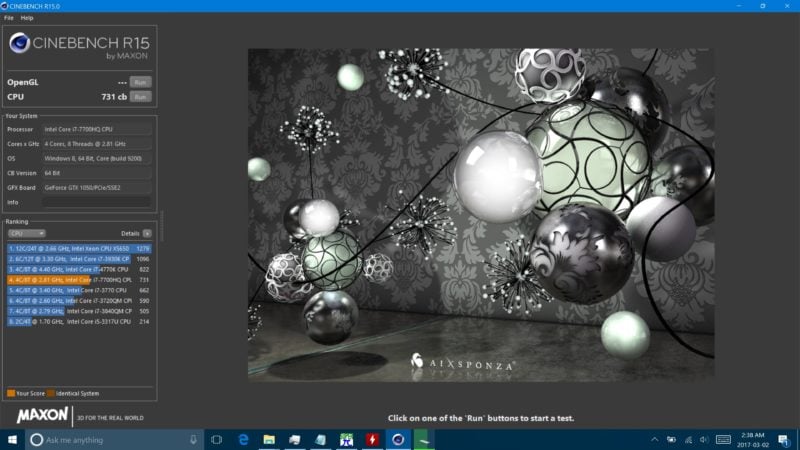
Cinebench is a popular CPU and OpenGL benchmarking utility developed by the creators of popular 3D graphics software Cinema 4D. The utility uses either the CPU or OpenGL capabilities of the system to render a complex 3D scene which will then be scored based on how fast the scene was rendered.
Geekbench (Paid/Free Trial)
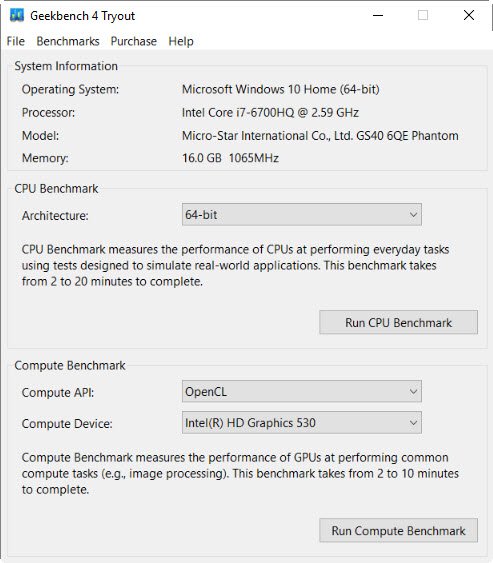
Geekbench is a multi-platform benchmarking utility capable of testing both CPU and GPU Compute. The CPU benchmarking utility allows the running of tests in both single thread and multi-threaded modes in appliactions such as encryption, speech recognition, ray tracing, HTML5 rendering and more.
GPU Benchmarks
3D Mark (Paid/Free Basic Mode)
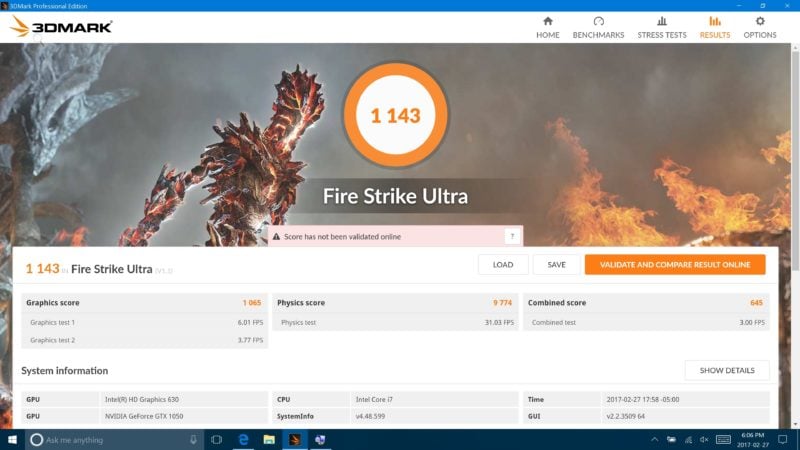
3D Mark is easily the most popular graphics benchmarking tool on the market. The application runs a complex, pre-defined 3D graphical load then outputs a benchmark score which lets you know the performance of the graphics card.
Unigine Heaven (Free)

Unigine Heaven is a popular free graphics benchmark which tests graphics performance by rendering a scene in real time and measuring the frames per second, or FPS, outputted by the graphics card.
Select Games (Paid)

There are numerous games that include built-in benchmark utilities. Some of the most popular include Metro 2033, Hitman, Tomb Raider and more. These benchmarks are frequently used by hardware review websites and serve as an excellent measure of GPU performance.
RAM Benchmarks
AIDA64 (Paid/Free Trial)
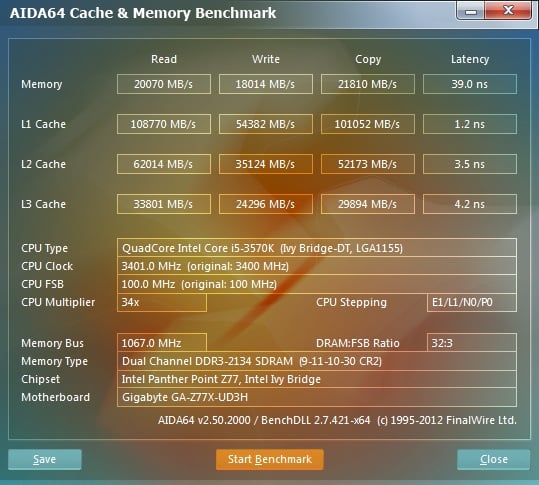
RAM benchmarking isn’t usually considered as crucial as testing CPU, GPU or storage, but for those running higher performance RAM, RAM disks or RAM overclocking, it’s important to benchmark the RAM to ensure that the additional RAM performance is available. One of the best RAM benchmarking tools is AIDA64, which is capable of testing RAM performance
Storage Benchmarks
Crystal Disk Benchmark (Free)
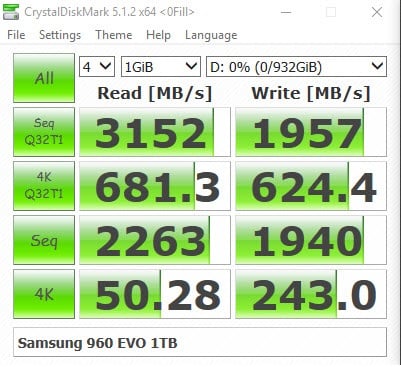
Crystal Disk Benchmark is an excellent benchmark that’s can provide a quick and easy snapshot of a drive’s performance in sequential and 4K read/write workloads.

0 Comments