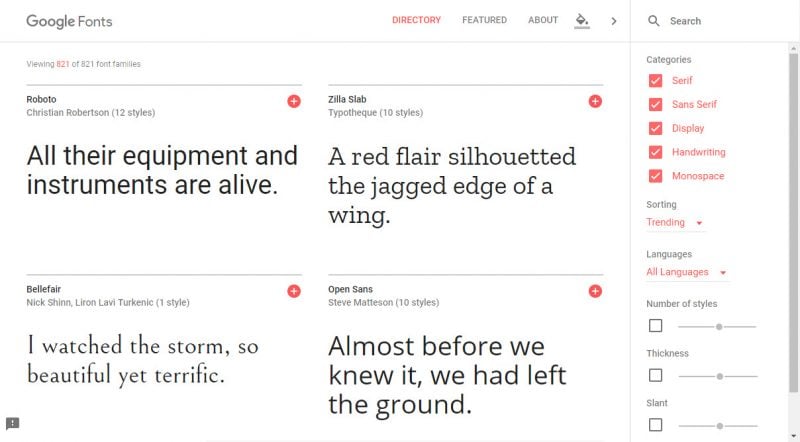
So you’ve just discovered all the awesome fonts you can download for free over at Google Fonts and now you have a .zip file full of .ttf files without any instructions on how to make it all work. This is why you’ve returned to Google to figure out a way to get all the new fonts installed.
Well, you’ve come to the right place. Here’s how to install fonts on Windows 10.
Windows 10 Font Installation Guide
Step 1
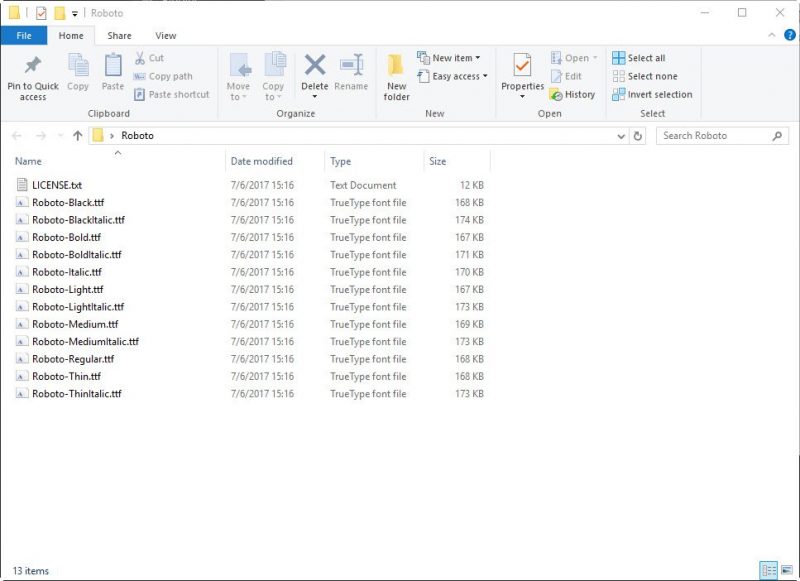
Open the folder containing all your font files.

Step 2
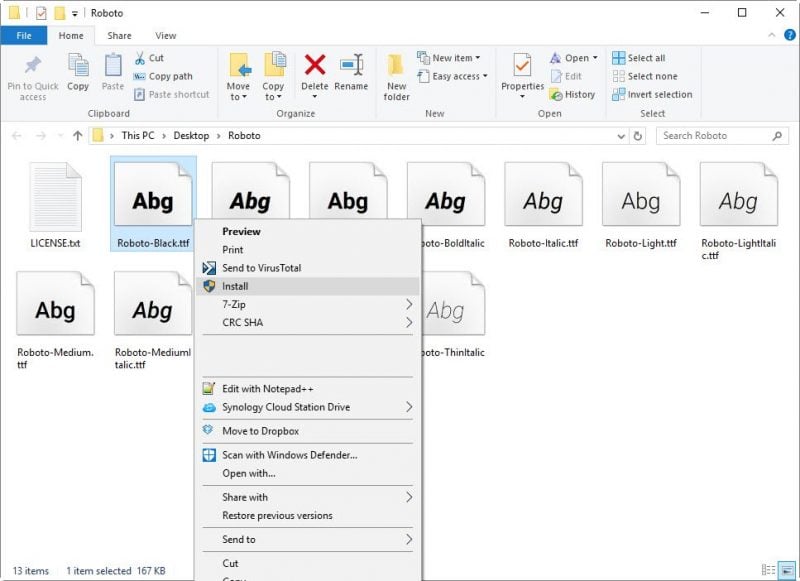
Either select a single font file or select a group of font files and right-click. Then find Install and click on it.

Step 3
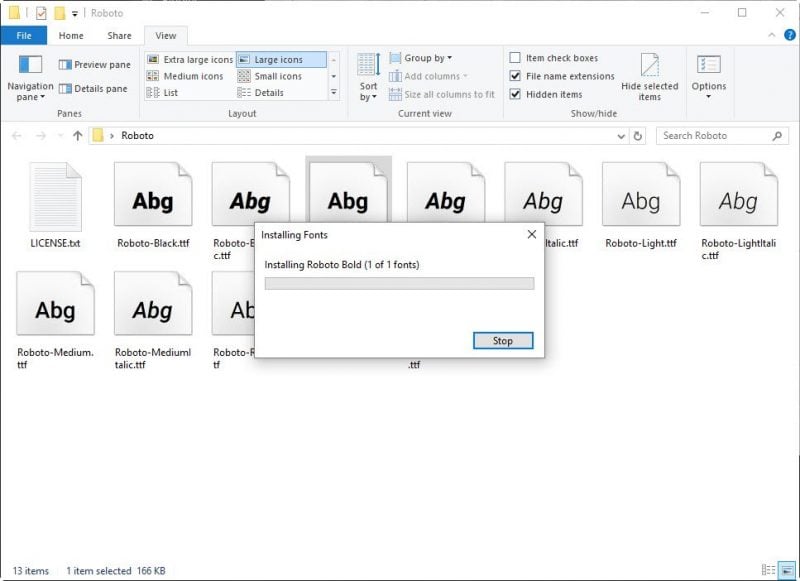
Wait for the font installation dialog box to finish and… that’s LITERALLY it! You should now be able to find your newly installed font files in your favorite applications. If you don’t see it, be sure to restart the application or restart Windows.


0 Comments