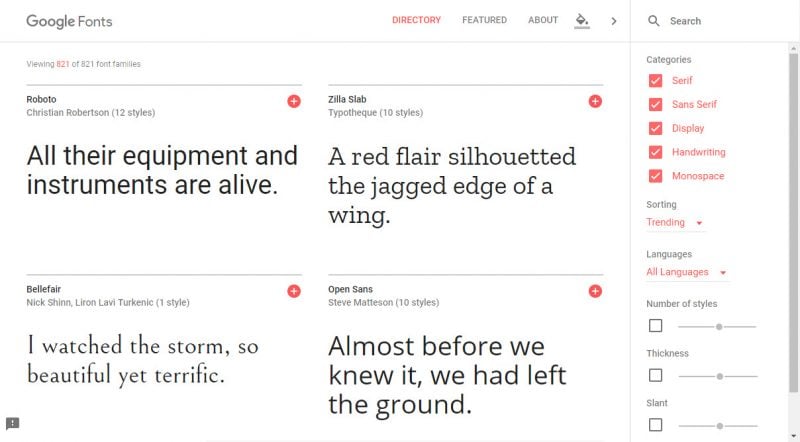
So you’ve just discovered all the awesome fonts you can download for free over at Google Fonts and now you have a .zip file full of .ttf files without any instructions on how to make it all work. This is why you’ve returned to Google to figure out a way to get all the new fonts installed.
Well, you’ve come to the right place. Here’s how to install fonts on Windows 10.
Step 1
Open the folder containing all your font files.
Step 2
Either select a single font file or select a group of font files and right-click. Then find Install and click on it.
Step 3
Wait for the font installation dialog box to finish and… that’s LITERALLY it! You should now be able to find your newly installed font files in your favorite applications. If you don’t see it, be sure to restart the application or restart Windows.
This post was last modified on February 15, 2020 3:47 pm
Whether you're a CrossFit enthusiast, a rucking adventurer, a high-intensity interval training (HIIT) devotee, or…
Introduction Credit scores are a crucial part of our financial lives, yet many people don't…
Earlier this week, T-Mobile and SpaceX jointly shared that they would be making an announcement…
Starlink Satellite Dish | Source: SpaceX In a recent Tweet sent out by SpaceX, wireless…
With the release of Tesla FSD (Full Self Driving) 10.69 Beta starting to roll out…
Tesla Powerwall Last year, Tesla launched a pilot of their VPP (Virtual Power Plant) where…
This website uses cookies.