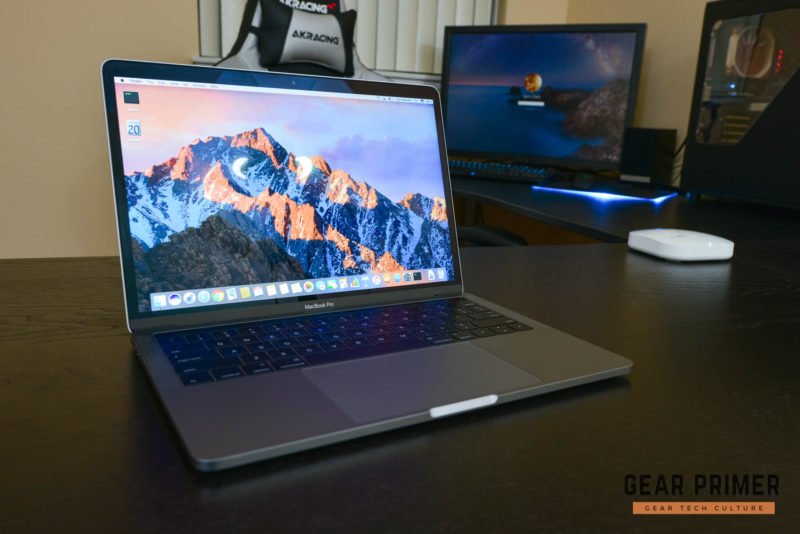
As the designated IT person at the office, one of the most common things that happens to me is someone handing me their Mac and asking me to do stuff with it. Despite the fact that I’ve only used Windows for pretty much all my life. Case in point.
The other day, one of my colleagues needed to take a screenshot on his Macbook Pro and had no idea how to do it. As I scoffed at his pathetic computer skills telling him repeatedly to hit the Print Screen button to him not understanding a word I said, he handed me the laptop. To my realization that there was no Print Screen button on the computer… Crud. That’s pretty embarrassing.
In an attempt to prevent this embarrassment from happening to you, today we’re going to show you how to take a screenshot on a Mac. Here’s how it’s done.
This one is by far the easiest to do.
2. A shot of your screen will be saved as a PNG file on your desktop. Boom.
2. Once the key combination is pressed, a crosshair will appear. Move the crosshair to the area where you want to start the screenshot. The x and y pixel axis will be displayed right below it.
3. Click and drag the crosshair until the grey selection area covers the portion you want to capture.
4. Upon releasing the click, the screenshot will be saved as a PNG file on your desktop.
2. Press the Spacebar. The crosshair will be replaced by a camera icon. Alternatively, if you have a MacBook Pro with the Touch bar, select Window on the Touchbar.
3. Move the camera onto a widow and click.
4. The screenshot will be saved as a PNG file on your desktop.
Note that while this may not work with every app. When it fails, fall back to using the crosshair method.
Also interesting to note if you have a Touchbar Macbook Pro, the Touchbar will show you screenshot options when Shift+Command (⌘)+4 is pressed. As you can see here.
Speaking of Touchbar, surprise! You can also screenshot your touch bar if you own a Macbook Pro with a Touchbar. Things get a little tricky here, so follow the steps carefully.
2. The screenshot will be saved as a PNG file on your desktop. Boom. Done.
This post was last modified on March 8, 2020 10:30 pm
Whether you're a CrossFit enthusiast, a rucking adventurer, a high-intensity interval training (HIIT) devotee, or…
Introduction Credit scores are a crucial part of our financial lives, yet many people don't…
Earlier this week, T-Mobile and SpaceX jointly shared that they would be making an announcement…
Starlink Satellite Dish | Source: SpaceX In a recent Tweet sent out by SpaceX, wireless…
With the release of Tesla FSD (Full Self Driving) 10.69 Beta starting to roll out…
Tesla Powerwall Last year, Tesla launched a pilot of their VPP (Virtual Power Plant) where…
This website uses cookies.