So you just bought a Samsung SSD. Now what? How in the world you’re going to migrate your Windows 10 OS along with all your programs and files to the new SSD? While you could just bite the bullet and re-install everything from scratch, doing so can be extremely time consuming.
Luckily, one of the features that sets Samsung SSDs apart is the Samsung’s Data Migration Software which can make the migration process from your old HDD or SSD to your new one easy and pain free. Today we’ll show you how to use it.
Samsung Data Migration Software Guide
Step 1
Connect your new Samsung SSD to your PC. There are a few ways to do this.
- If you purchased a PCIe or mSATA drive, simply install the drive into your system and you should be good to go.
- If you purchased a 2.5-inch SATA drive, you can either plug it into a second SATA port on your PC or connect it to your PC via a USB drive dock. An excellent USB drive dock is the Plugable USB 3.1 Gen 2 SATA Drive Dock however, any USB drive dock can be used for this purpose.
Step 2
Download Samsung’s Data Migration Software. Once downloaded, extracted and installed, start up the software.
For the purposes of today’s guide, we’ll be showing you how to use the latest version of Samsung Data Migration Tool Version 3.1. The Samsung Data Migration Software supports Windows XP SP2, Vista, 7, 8, 8.1, and 10 along with pretty much every Samsung Consumer SSD on the market.
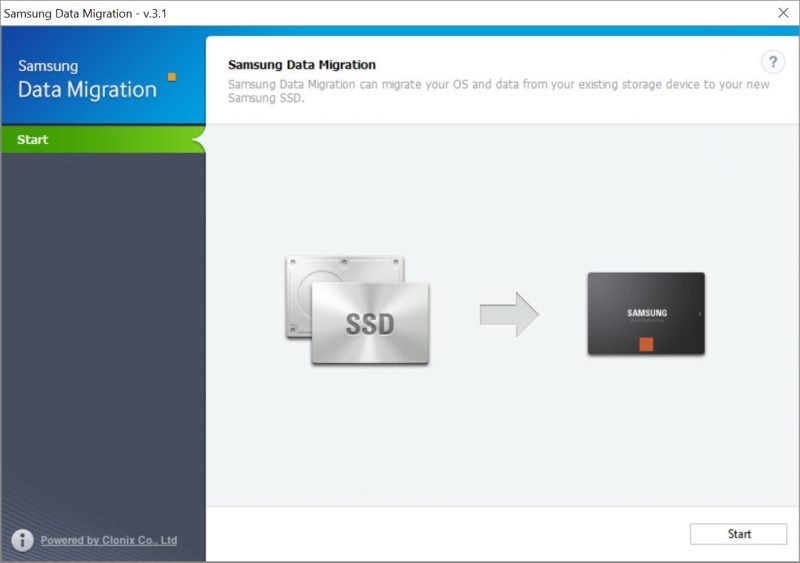
Once started, you’ll be greeted with the screen below. Go ahead and click the Start button in the bottom right hand corner of the app to get started.

Step 3
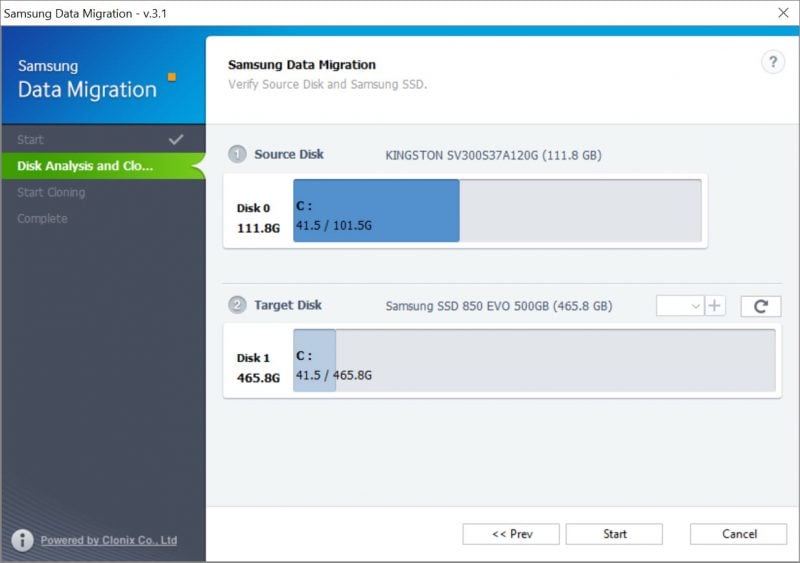
Next you’ll see the Disk Analysis and Cloning menu. In our instance, we’re migrating from a small Kingston V300 120GB to a Samsung 850 EVO 500GB. We can see both drives below. Ensure that the drive you’re migrating from is under Source Disk and the new Samsung drive under Target Disk. Click on Start to begin the migration process.

Step 4
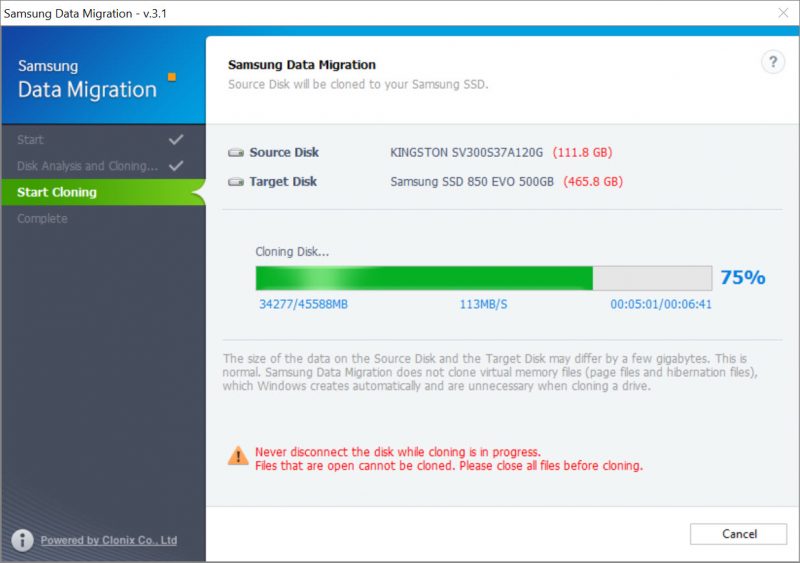
Once the process is started, simply wait until the migration process is completed.

Step 5
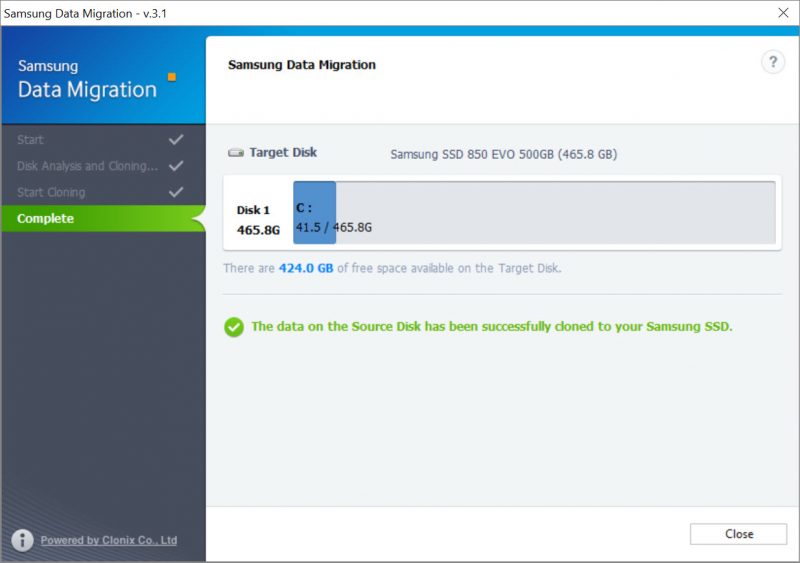
When the migration is complete, the utility will display “The data on the Source Disk has been successfully cloned to your Samsung SSD.” From here simply turn off your PC, disconnect the old SSD and connect the new SSD if you haven’t done so already. That’s it!


My dell 5423 laptop widows stop at the blue empty screen after I successfully use Samsung data migration. I can not reinstall the windows by entering the OEM key code( oem version windows 7).
What did I do wrong? Please help.
Janet